Installation Guide
For the Bluetooth module BT PHONE P3GSM
and audio extensions
|
Note: |
Please read the whole Guide first before you start with the replacement. |
|
Caution: |
The Bluetooth module is an ESD sensitive board. Be careful after you remove it from its bag. |
Installation of the Bluetooth module instead of original GSM modem is not complicated. Just be careful in some steps.
Procedure how to remove the Phone module (PHM) from the car is not part of this guide. You can find some on Youtube or some forums.
|
Note: |
PHM location for some cars:
|
|
Caution: |
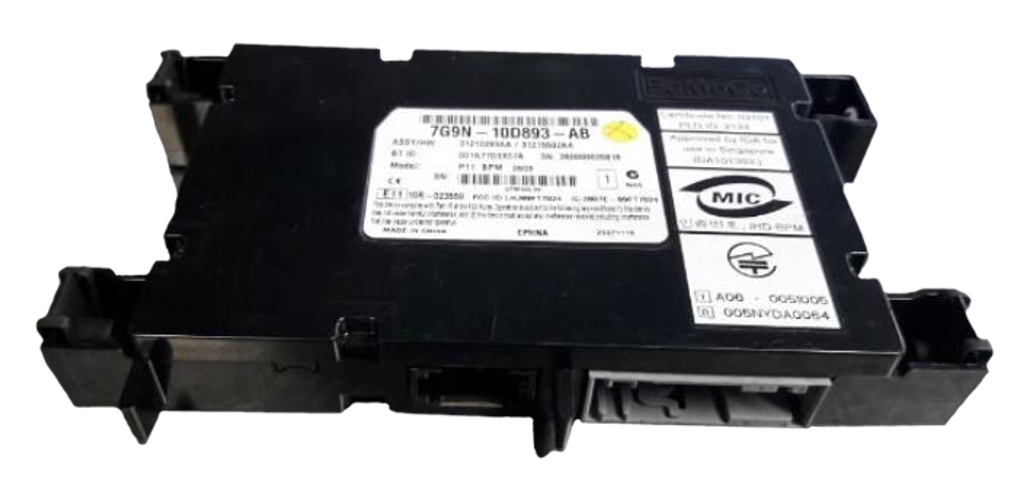
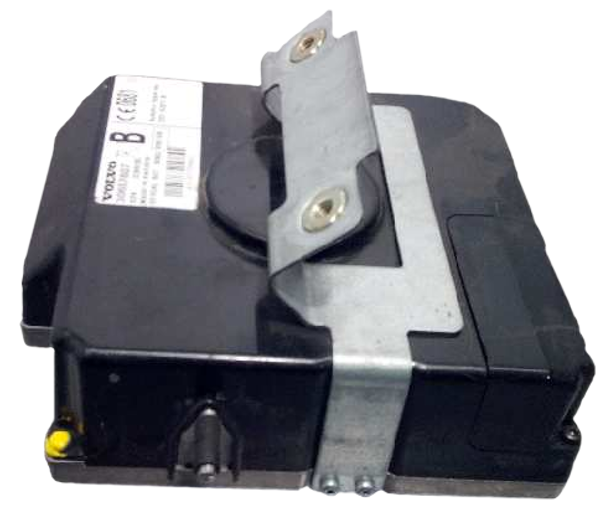
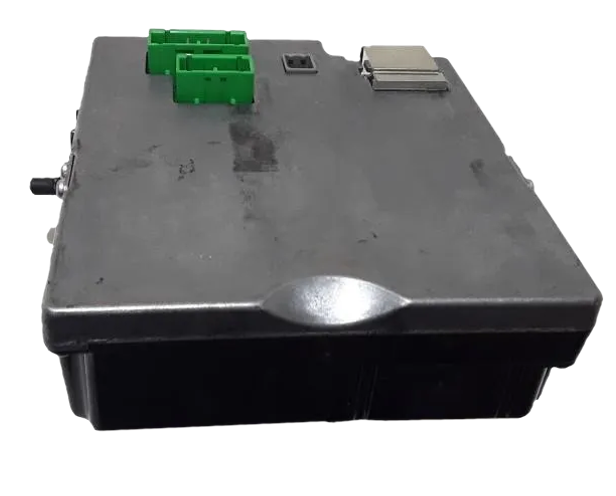
Not supported PHMs: If your PHM does not look like PHM shown on figure 1.1 then it is not possible to make a retrofit Bluetooth upgrade! Appearance of known unsupported PHMs: |
|
Caution: |
If you have not access to diagnostic then I recommend you to follow this rules during the removing process of PHM: Do not unplug any connector except PHM connectors. If you unplug the connector which has something in common with car safety then the Airbag warning light may be turned on! It is possible to turn it off only by diagnostics. |
1. The necessary equipment
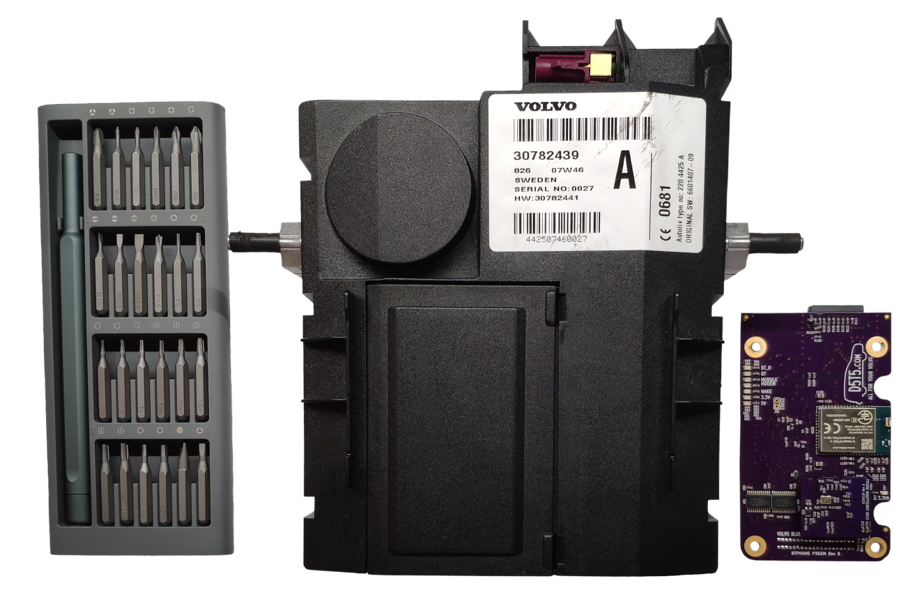
You can see a list of what you will need for the replacement on the figure 1.1.:
|
|
|
Figure 1.1 |
You will need (not part of the package)
- Torx T10
- The Phone module (PHM)
You find in the package
- The BT Phone P3GSM board
2. Disassembly of GSM modem
2.1. Removing the plastic cover
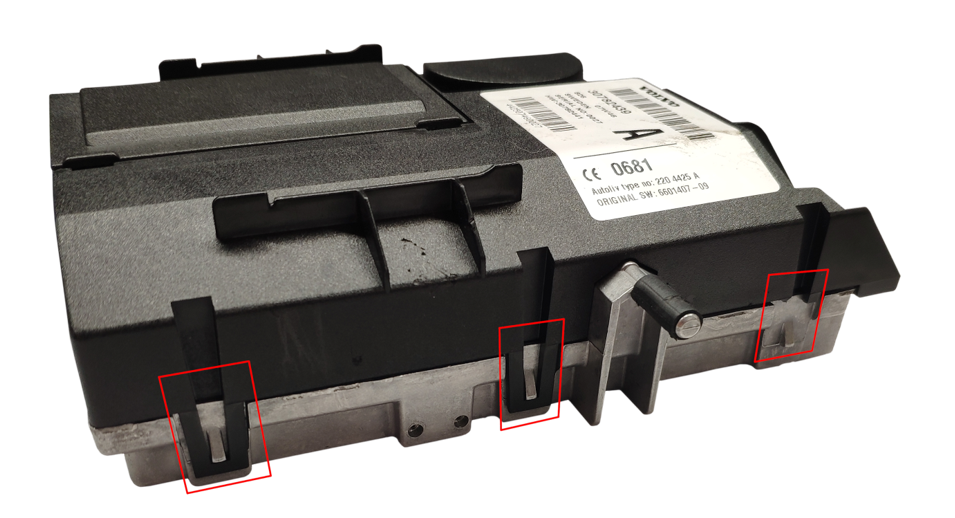
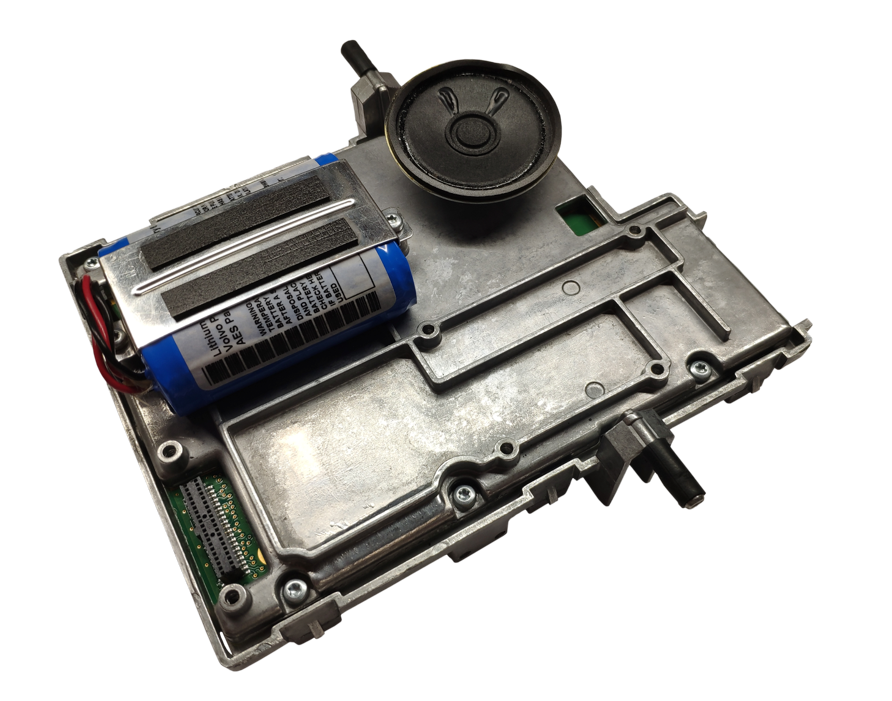
Safety unlock plastic locks (6 in total) and flip up the cover of PHM (figure 2.1, figure 2.2).
|
Caution: |
The plastic cover is prone to damage (as you can also see on figure 2.1). |
|
|
|
Figure 2.1 |
|
Caution: |
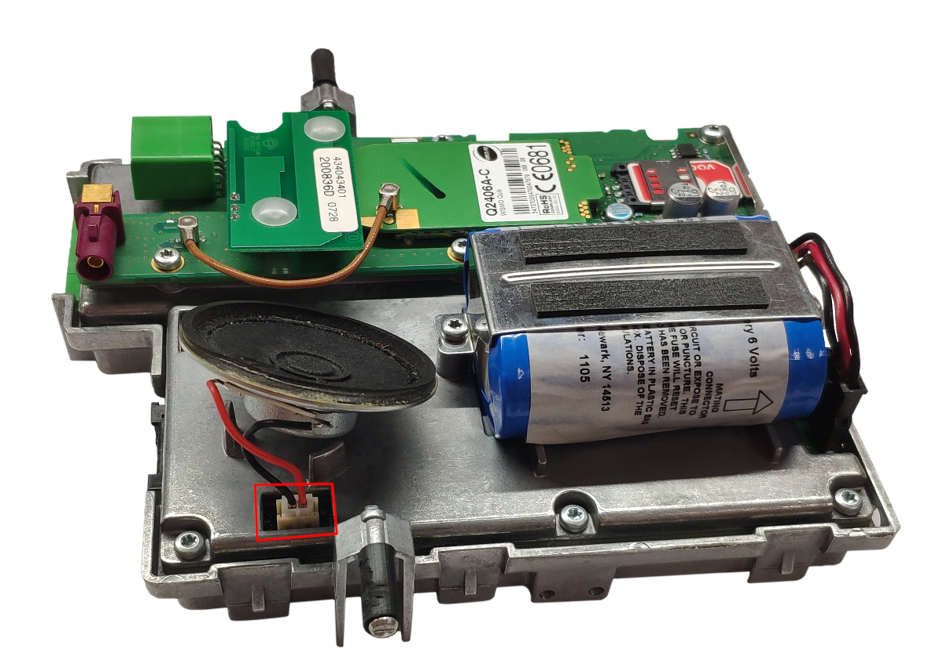
If you have the module with VOC support then take extra care. The speaker inside the PHM is probably sticked to the plastic cover. In this case flip up the cover just partly and unplug the speaker connector (figure 2.2). |
|
|
|
Figure 2.2 |
2.2. The GSM modem disassembly
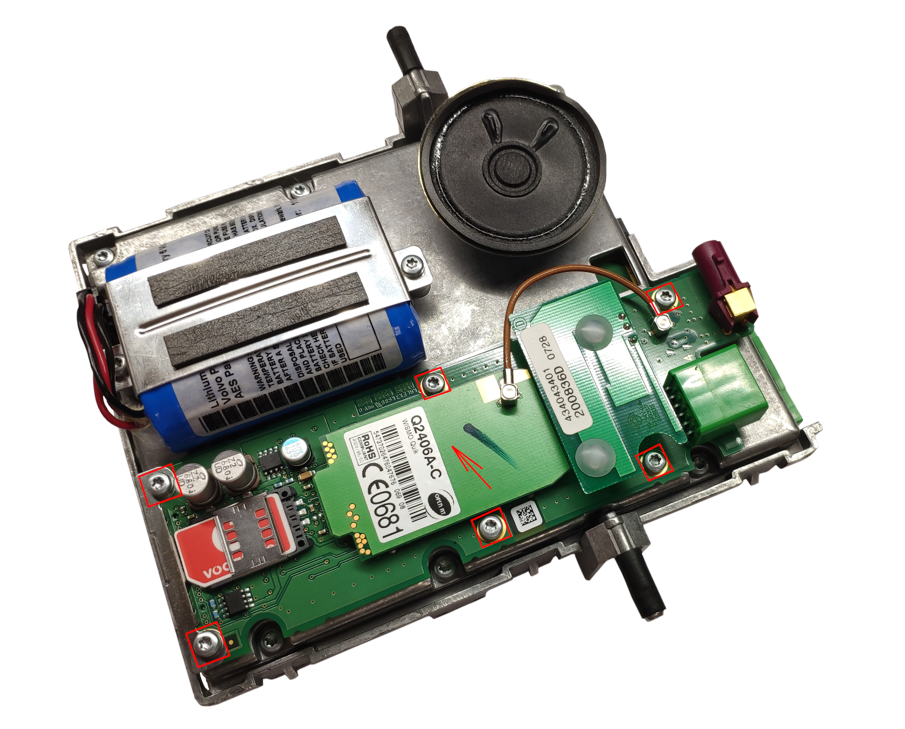
Unscrew 6 screws (figure 2.3) using Torx T6 and slide the modem upwards (figure 2.4)..
|
|
|
Figure 2.3 |
|
|
|
Figure 2.4 |
|
Note: |
If you have not disable VOC features then I recommend you to keep the battery connected with PHM. Otherwise the error message appears on your dashboard after the ignition is turned on.
|
3. The Bluetooth module installation
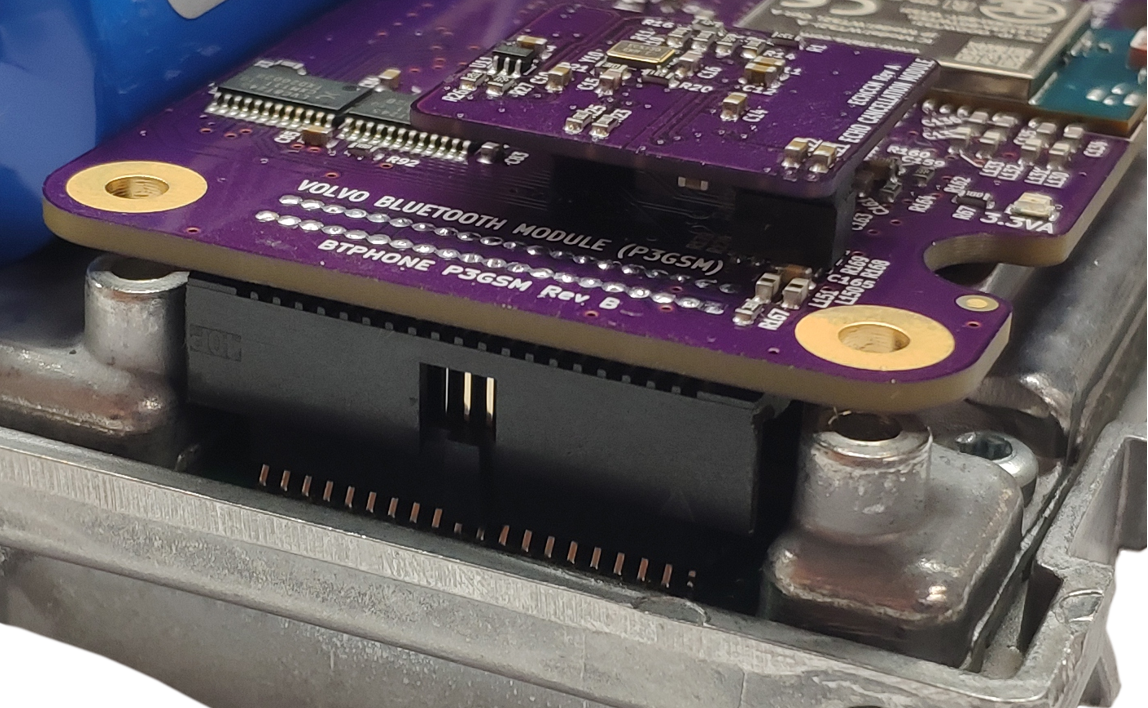
Put the Bluetooth module in the same place as the original GSM modem.
|
Warning: |
The connector lock on the Bluetooth module is not as the connector lock on the GSM modem (it is wider). So be extremely careful with the installation to connect the connectors together properly. Otherwise you may damage one of the connectors. |
|
|
|
Figure 3.1 |
If connectors are properly connected then Bluetooth module mounting holes fit perfectly with holes on the PHM (figure 3.2).
|
|
|
Figure 3.2 |
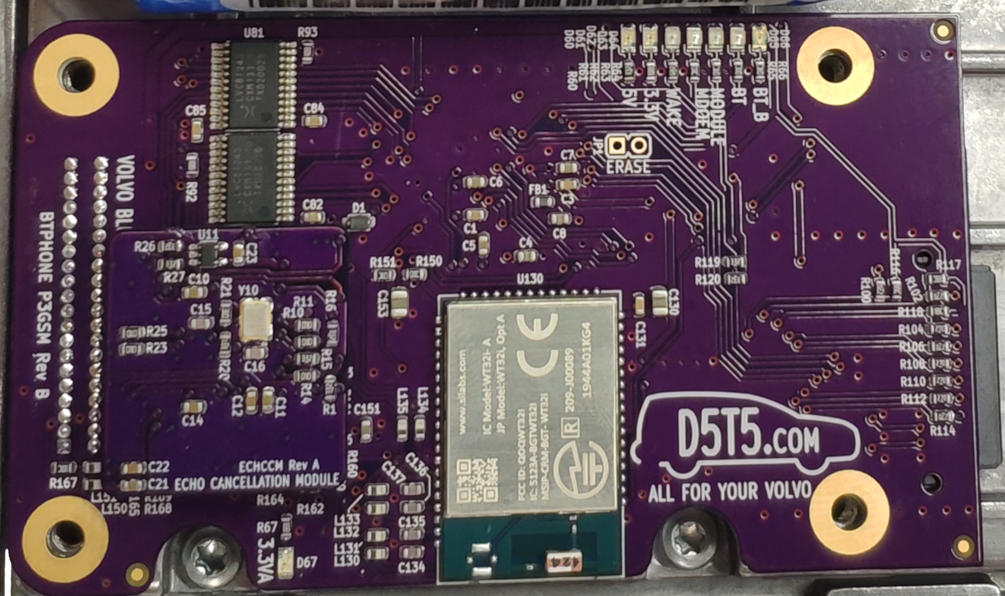
Use 4 original screws to fix the Bluetooth module on the PHM (figure 3.3). In the case that you do not plan to install also the extension audio module screw in the rest 2 screws on the empty place to protect their loss (figure 3.3).
|
|
|
Figure 3.3 |
If you have the extension audio module then continue to chapter The extension audio module installation .
Put the plastic cover back on the PHM and make sure that all remaining undamaged locks are properly locked. Now you can put the updated phone module back into the car.
Thanks for buying and I wish you a lot of pleasant moments with this updated module.
4. The extension audio module installation
In the case that the PHM was already updated (in the past) then you have to remove the plastic cove first. In this case follow the chapter Removing the plastic cover .
4.1. Part of the package
4.1.1. FM transmitter extension module
- FM transmitter extension board
- the dipole antenna
4.1.2. Audio analog output extension module (AUX out)
- Audio analog output extension board
|
Caution: |
3 pin audio cable (3.5mm jack on both sides, stereo) is not part of the package. So you have to buy extra. I recommend you buy cable with narrow connector covers. |
4.2. Installation of the expansion audio module together with the Bluetooth module
It is possible to install the boards as a one. In this case connect boards together (you get the same board shape as GSM modem) before the Bluetooth module installation and follow steps above (chapter Disassembly of GSM modem , ...).
But in this case you have to be careful to not damage interconnection connectors.
4.3. The extension audio module individual installation
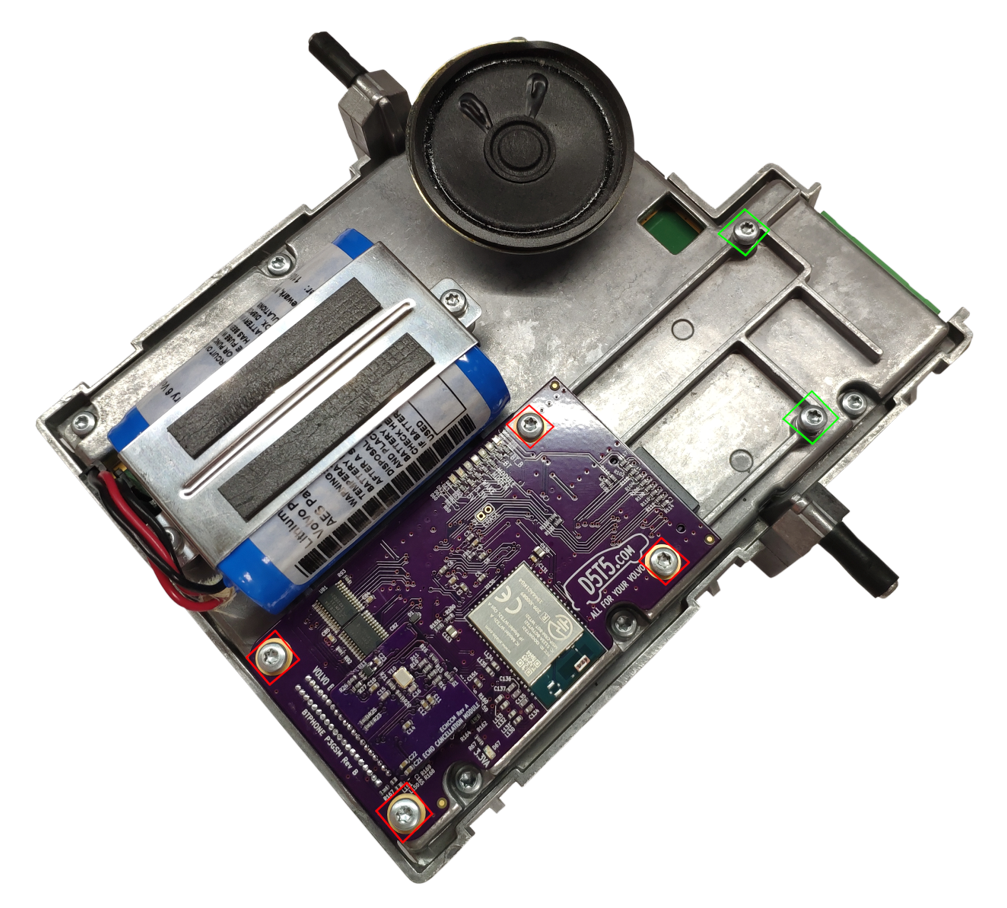
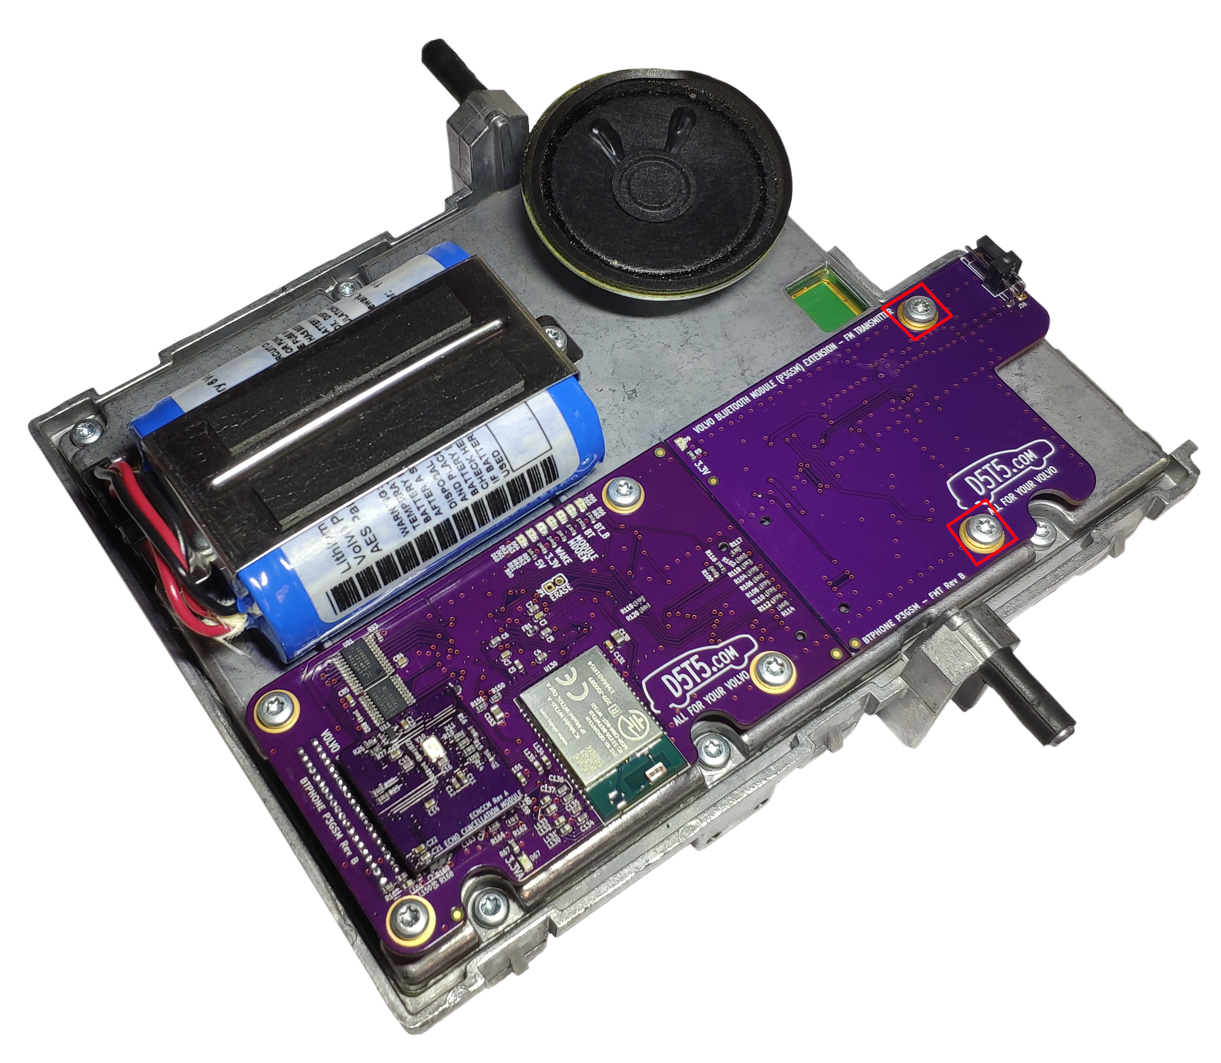
If screws shown on figure 4.1 are screwed then unscrew them.
|
|
|
Figure 4.1 |
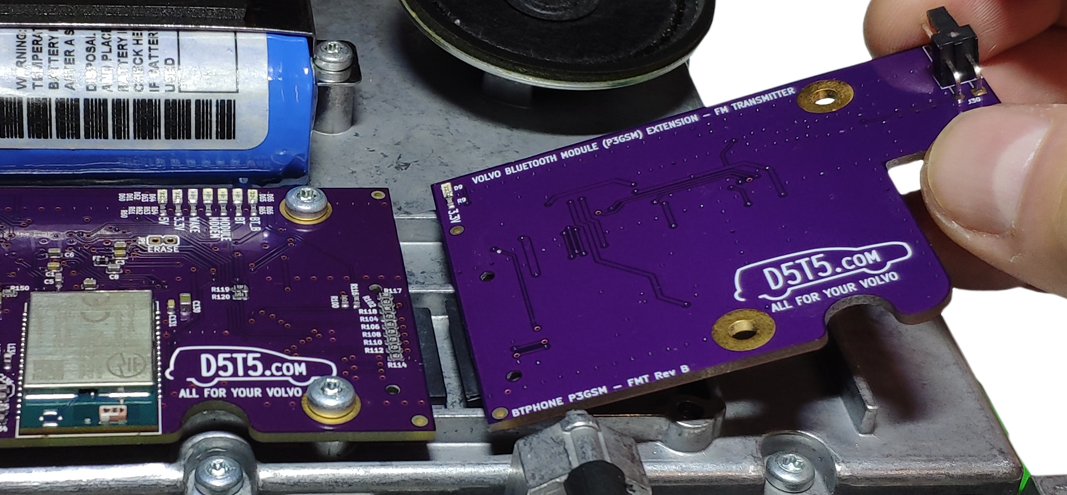
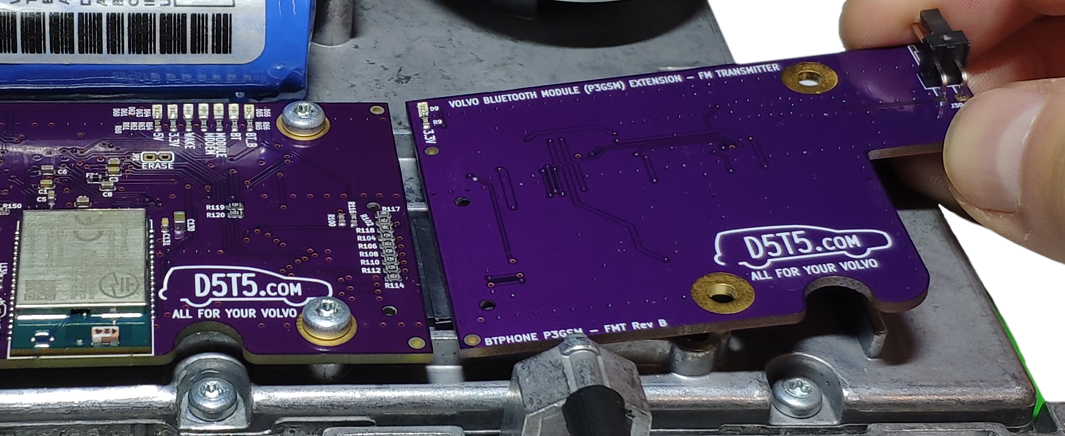
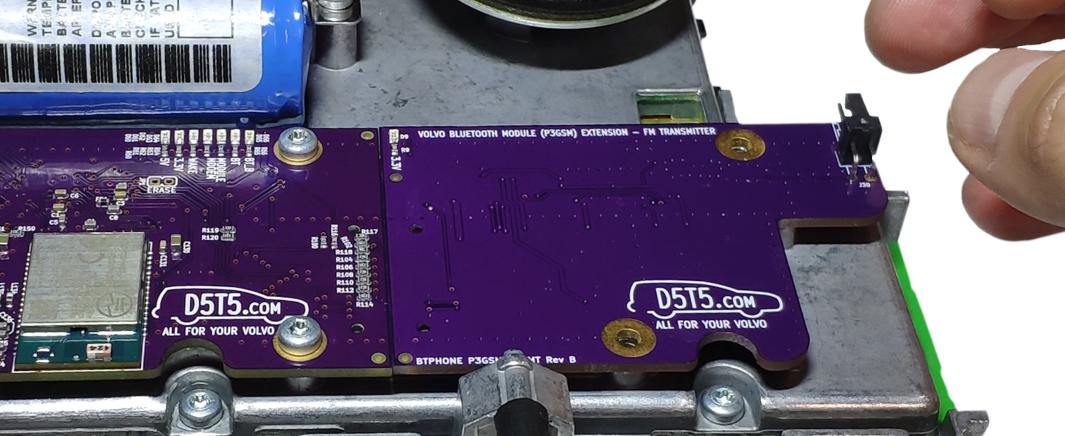
Connect the extension audio module with the Bluetooth module in steps shown on figures 4.2, 4.3 and 4.4.
|
Warning: |
Make sure that the module is tilted (as shown in the figures) when connecting, so as not to damage the components on the bottom side of the board. |
|
|
|
Figure 4.2 |
|
|
|
Figure 4.3 |
|
|
|
Figure 4.4 |
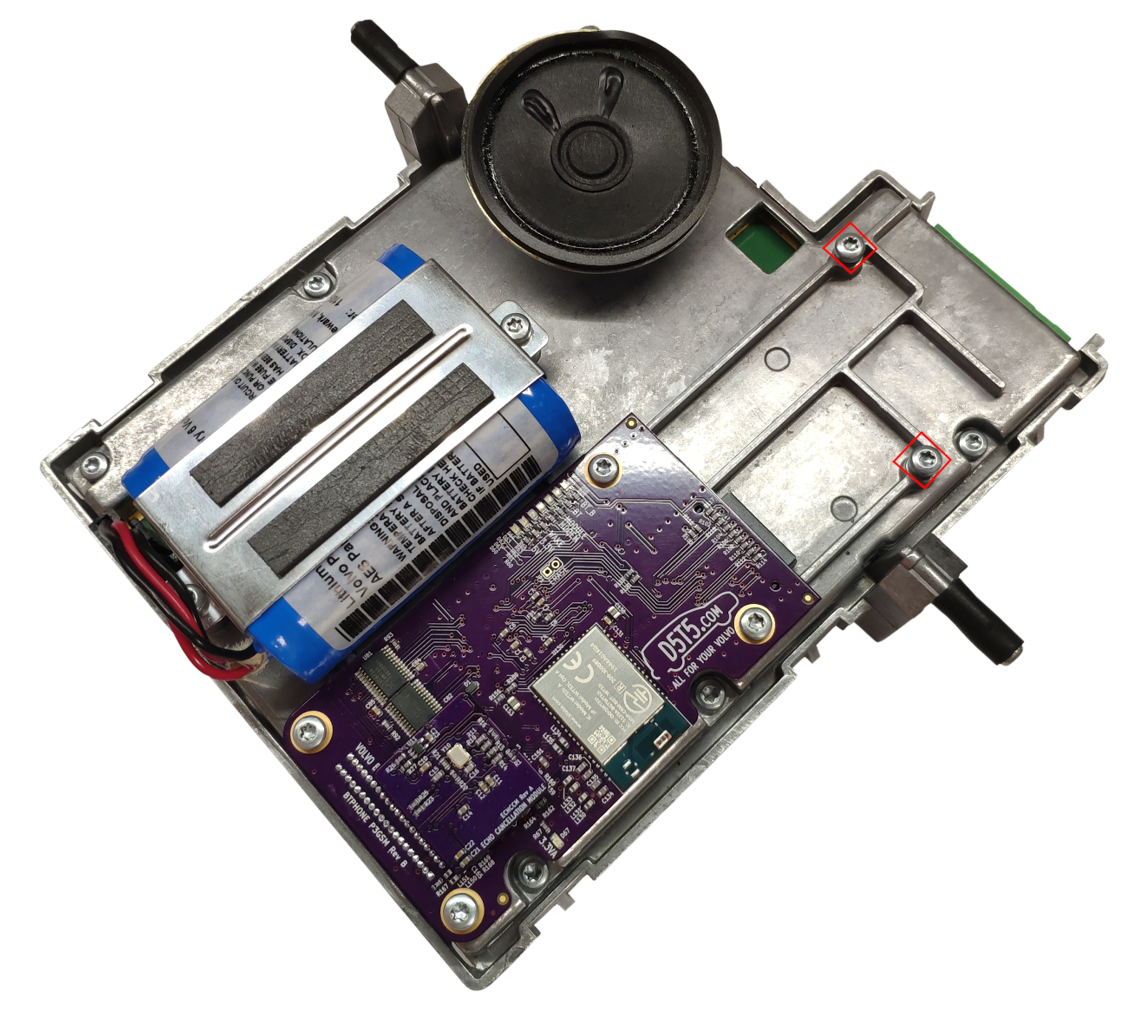
Finally use 2 original screws to fix the extension audio module on the PHM (figure 4.5).
|
|
|
Figure 4.5 |
Put the plastic cover back on the PHM and make sure that all remaining undamaged locks are properly locked. Now you can put the updated phone module back into the car.
After you install the PHM back into the car then also do not forget to plug:
- antenna - FM transmitter module
- audio cable (not part of the package) - Analog audio output module
|
Note: |
Regarding FM transmitter module antenna installation: I recommend you to install the FM antenna as follows: Position the ends of the antenna as far as possible. Do not fix it on metal parts along the entire length. If possible, place the silver wire from the antenna as close to the radio as possible and the copper wire as far as possible from the radio. |
Thanks for buying and I wish you a lot of pleasant moments with this updated module.
1. Appendix A - Not supported PHMs
XC90, early models (2003-2004?)
|
|
|
S80, V/XC70 (2010+)
